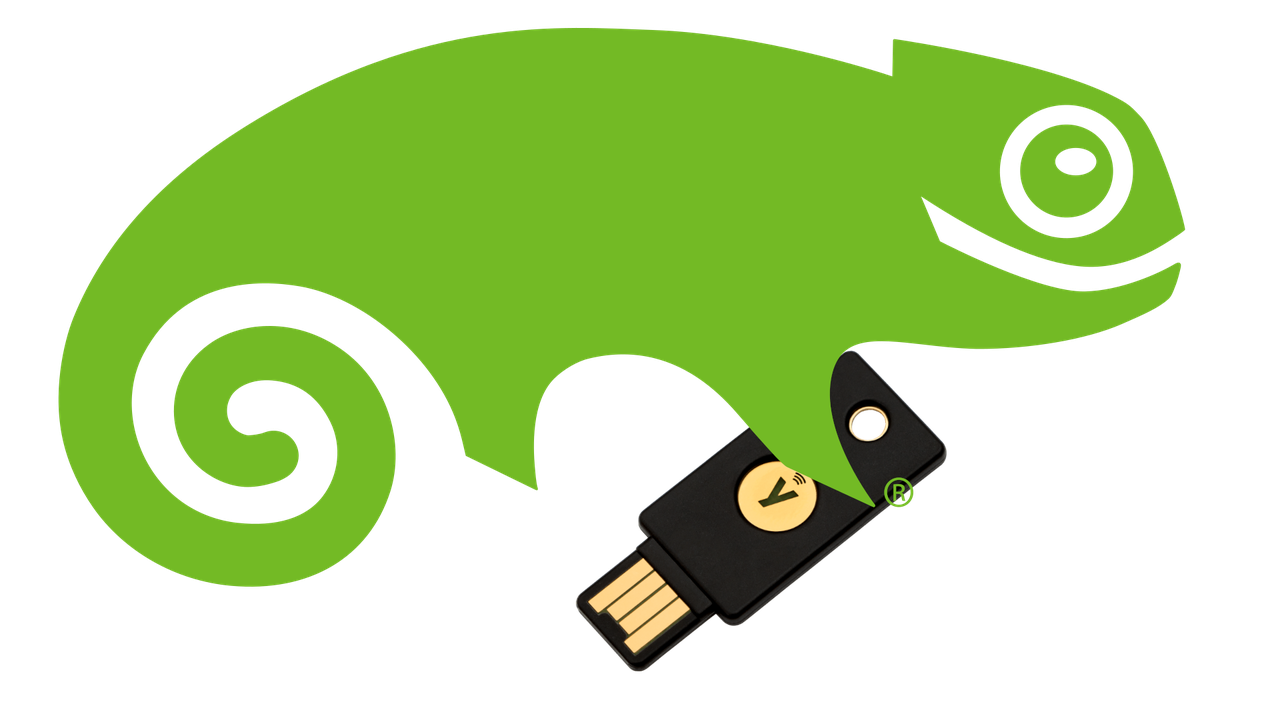
 I have a [Yubikey 5 NFC](https://www.yubico.com/products/yubikey-5-overview/)
that I use for 2-Factor Authentication (2FA) on websites that support it and for
storing my GPG keys.
I recently got a new laptop, and I quickly got tired of trying to remember a
long new password. I have also gotten use to using things like Windows Hello at
work, where a pin or fingerprint can be used to Log in.
Most of the articles I found about setting up U2F in Linux were using Ubuntu,
and since I am using openSUSE and some files are in different places, this post
documents that process. Although Universal 2nd Factor (U2F) on the Yubikey can
be used to add 2FA to make your Linux laptop more secure, my focus is on a
passwordless login so that I don't need to enter a long password at all to log
in to my Linux account.
WARNING: An erroneous PAM configuration may lock you completely out of your
systems or prevent you from gaining root privileges. Before getting started,
open a terminal and su to root. Before closing the terminal, test your
configuration thoroughly.
## Installing the Required Software
The openSUSE repository includes a package called `pam_u2f`. This package adds U2F
support for Pluggable Authentication Modules (PAM). PAM provides the libraries
for Linux that allow configuration of authentication of users. In this case we
want to authenticate using a U2F module, so we install it by opening a terminal
and typing:
```bash
$ sudo zypper in pam_u2f
```
## Associating the U2F Key With Your Account
The U2F PAM module needs to make use of an authentication file that associates
the user name that will login with the Yubikey token. Open a terminal and insert
your Yubikey.
```bash
$ mkdir -p ~/.config/Yubico
$ pamu2fcfg -u $(whoami) >> ~/.config/Yubico/u2f_keys
```
When your device begins flashing, touch the metal contact to confirm the association.
For increased security, we'll next move the u2f_keys file to an area where
you'll need sudo permission to edit the file.
```bash
$ sudo mkdir -p /etc/Yubico
$ sudo mv ~/.config/Yubico/u2f_keys /etc/Yubico/u2f_keys
$ sudo chown root.root /etc/Yubico/u2f_keys
```
## Edit the PAM Configuration
Once the u2f_keys file is moved to a safer location the PAM file will need to be
modified so that u2f PAM module can find the u2f_keys file. For these PAM
configurations, openSUSE creates configuration files, which end in "pc",
generated by the `pam-config` utility, and then symbolically links the PAM
configuration files to these. Unfortunately, we can't use pam-config to
configure the pam_u2f module, so we'll need to manually edit the config. To do
this, we will only need to make changes to the main PAM authorization
configuration called `common-auth`, so first we need to remove the symbolic link
and then copy the configuration so that we can edit it.
```bash
$ cd /etc/pam.d
$ sudo rm common-auth
$ sudo cp common-auth-pc common-auth
```
Now edit the configuration file that you created. I would normally use vim to
make a quick edit to a file, but I will use nano instead in case you aren't
familiar with vim commands:
```bash
$ sudo nano common-auth
```
Scroll to the bottom or hit Alt+/, there should be three lines that aren't commented out:
```
auth required pam_env.so
auth optional pam_gnome_keyring.so
auth required pam_unix.so try_first_pass
```
After the pam_gnome_keyring line, add a new line so that your file looks like:
```
auth required pam_env.so
auth optional pam_gnome_keyring.so
auth sufficient pam_u2f.so authfile=/etc/Yubico/u2f_keys cue
auth required pam_unix.so try_first_pass
```
Let's discuss what this did:
- auth adds a new definition for login authorization
- sufficient allows a login with Yubikey only, but isn't required to login if
the user's password is entered
- pam_u2f.so is the PAM U2F module
- authfile sets the authorization file that we created earlier
- cue creates a prompt to remind you to touch your Yubikey
When you are done adding the configuration line, save the file by pressing
Ctrl+x and then hit enter.
## Test Logging In
Before you close your su terminal, make sure that logging in works using U2F. Using
a new terminal, try to login:
```bash
$ su - $(whoami)
Password:
```
Instead of entering your password, hit enter. You should see a prompt to touch
your device:
```bash
Please touch the device.
$
```
If that is successful then congrats, you should now be able to restart your
computer and login using your Yubikey!
## Troubleshooting - Enable Debug Mode
If you are unable to login and are unsure why, you can enable debugging on the
Yubico PAM module. First open a terminal, then execute:
```bash
$ sudo touch /var/log/pam_u2f.log
```
Edit the /etc/pam.d/common-auth file again and add ` debug debug_file=/var/log/pam_u2f.log`
to the end of the line that you added earlier. Save the file and now each
login attempt will be saved in the /var/log/pam_u2f.log file.
## Unlock GNOME Keyring
If you are using GNOME, even though you successfully logged in with your Yubikey,
GNOME will still ask you to unlock your login keyring with your login password.
This defeats the purpose of setting up your Yubikey to login in the first place.
There is a project called
[gnome-keyring-yubikey-unlock](https://git.recolic.net/root/gnome-keyring-yubikey-unlock)
that solves this by encrypting the keyring-name : password pair with GnuPG and
save it as secret-file. Then on starting GNOME, a script will automatically run
that calls GnuPG to decrypt the secret file, and pipe use the password to unlock
your keyring.
To build and install it openSUSE, run the following commands:
```bash
$ sudo zypper in libgnome-keyring-devel git
$ git clone https://git.recolic.net/root/gnome-keyring-yubikey-unlock --recursive
$ cd gnome-keyring-yubikey-unlock/src
$ make
$ cd ..
```
Next we need to get your public key id:
```bash
$ gpg --list-keys
/home/dan/.gnupg/pubring.kbx
----------------------------
pub rsa4096 2020-12-22 [SC]
30EE9BFEC3FD0B37F9088DBE42239C515C9B9841
uid [ultimate] Dan Yeaw
sub rsa4096 2021-11-10 [A]
sub rsa4096 2021-11-10 [E]
sub rsa4096 2021-11-10 [S]
sub rsa4096 2020-12-22 [E]
```
The hexadecimal id that starts with 30EE9BF is my public gpg key id. Next we are going
to create the encrypted keyring password pair. Replace YOUR_PUBLIC_GPG_KEY with your
public gpg key id from the last step and replace YOUR_LOGIN_PASSWORD with the password
for your user account.
```bash
$ ./create_secret_file.sh ~/.gnupg/gnome_keyring_yubikey_secret YOUR_PUBLIC_GPG_KEY
>>> Please type keyring_name and password in the following format:
keyring1:password1
keyring2:password2
login:12345678
>>> When you are done, use Ctrl-D to end.
login:YOUR_LOGIN_PASSWORD
```
Next we want to change the permissions of the file, so that only your user can read
and write to the file:
```bash
$ chmod 600 ~/.gnupg/gnome_keyring_yubikey_secret
```
Finally, create an autostart entry so that the script loads when you login to GNOME:
```bash
$ nano ~/.config/autostart/net.recolic.gnome-keyring-yubikey-unlock.desktop
```
Add the following to the file, replacing YOUR_USER with your username:
```bash
[Desktop Entry]
Type=Application
Exec=/home/YOUR_USER/Projects/gnome-keyring-yubikey-unlock/unlock_keyrings.sh /home/YOUR_USER/.gnupg/gnome_keyring_yubikey_secret
Hidden=false
X-GNOME-Autostart-enabled=true
Name=GNOME Keyring Yubikey Unlock
Comment=Unlocks the GNOME Login Keyring without password
```
Hit Control+x and then enter to save the file. Restart your computer, and you
should now be able to login and run openSUSE without manually entering your
password.
I have a [Yubikey 5 NFC](https://www.yubico.com/products/yubikey-5-overview/)
that I use for 2-Factor Authentication (2FA) on websites that support it and for
storing my GPG keys.
I recently got a new laptop, and I quickly got tired of trying to remember a
long new password. I have also gotten use to using things like Windows Hello at
work, where a pin or fingerprint can be used to Log in.
Most of the articles I found about setting up U2F in Linux were using Ubuntu,
and since I am using openSUSE and some files are in different places, this post
documents that process. Although Universal 2nd Factor (U2F) on the Yubikey can
be used to add 2FA to make your Linux laptop more secure, my focus is on a
passwordless login so that I don't need to enter a long password at all to log
in to my Linux account.
WARNING: An erroneous PAM configuration may lock you completely out of your
systems or prevent you from gaining root privileges. Before getting started,
open a terminal and su to root. Before closing the terminal, test your
configuration thoroughly.
## Installing the Required Software
The openSUSE repository includes a package called `pam_u2f`. This package adds U2F
support for Pluggable Authentication Modules (PAM). PAM provides the libraries
for Linux that allow configuration of authentication of users. In this case we
want to authenticate using a U2F module, so we install it by opening a terminal
and typing:
```bash
$ sudo zypper in pam_u2f
```
## Associating the U2F Key With Your Account
The U2F PAM module needs to make use of an authentication file that associates
the user name that will login with the Yubikey token. Open a terminal and insert
your Yubikey.
```bash
$ mkdir -p ~/.config/Yubico
$ pamu2fcfg -u $(whoami) >> ~/.config/Yubico/u2f_keys
```
When your device begins flashing, touch the metal contact to confirm the association.
For increased security, we'll next move the u2f_keys file to an area where
you'll need sudo permission to edit the file.
```bash
$ sudo mkdir -p /etc/Yubico
$ sudo mv ~/.config/Yubico/u2f_keys /etc/Yubico/u2f_keys
$ sudo chown root.root /etc/Yubico/u2f_keys
```
## Edit the PAM Configuration
Once the u2f_keys file is moved to a safer location the PAM file will need to be
modified so that u2f PAM module can find the u2f_keys file. For these PAM
configurations, openSUSE creates configuration files, which end in "pc",
generated by the `pam-config` utility, and then symbolically links the PAM
configuration files to these. Unfortunately, we can't use pam-config to
configure the pam_u2f module, so we'll need to manually edit the config. To do
this, we will only need to make changes to the main PAM authorization
configuration called `common-auth`, so first we need to remove the symbolic link
and then copy the configuration so that we can edit it.
```bash
$ cd /etc/pam.d
$ sudo rm common-auth
$ sudo cp common-auth-pc common-auth
```
Now edit the configuration file that you created. I would normally use vim to
make a quick edit to a file, but I will use nano instead in case you aren't
familiar with vim commands:
```bash
$ sudo nano common-auth
```
Scroll to the bottom or hit Alt+/, there should be three lines that aren't commented out:
```
auth required pam_env.so
auth optional pam_gnome_keyring.so
auth required pam_unix.so try_first_pass
```
After the pam_gnome_keyring line, add a new line so that your file looks like:
```
auth required pam_env.so
auth optional pam_gnome_keyring.so
auth sufficient pam_u2f.so authfile=/etc/Yubico/u2f_keys cue
auth required pam_unix.so try_first_pass
```
Let's discuss what this did:
- auth adds a new definition for login authorization
- sufficient allows a login with Yubikey only, but isn't required to login if
the user's password is entered
- pam_u2f.so is the PAM U2F module
- authfile sets the authorization file that we created earlier
- cue creates a prompt to remind you to touch your Yubikey
When you are done adding the configuration line, save the file by pressing
Ctrl+x and then hit enter.
## Test Logging In
Before you close your su terminal, make sure that logging in works using U2F. Using
a new terminal, try to login:
```bash
$ su - $(whoami)
Password:
```
Instead of entering your password, hit enter. You should see a prompt to touch
your device:
```bash
Please touch the device.
$
```
If that is successful then congrats, you should now be able to restart your
computer and login using your Yubikey!
## Troubleshooting - Enable Debug Mode
If you are unable to login and are unsure why, you can enable debugging on the
Yubico PAM module. First open a terminal, then execute:
```bash
$ sudo touch /var/log/pam_u2f.log
```
Edit the /etc/pam.d/common-auth file again and add ` debug debug_file=/var/log/pam_u2f.log`
to the end of the line that you added earlier. Save the file and now each
login attempt will be saved in the /var/log/pam_u2f.log file.
## Unlock GNOME Keyring
If you are using GNOME, even though you successfully logged in with your Yubikey,
GNOME will still ask you to unlock your login keyring with your login password.
This defeats the purpose of setting up your Yubikey to login in the first place.
There is a project called
[gnome-keyring-yubikey-unlock](https://git.recolic.net/root/gnome-keyring-yubikey-unlock)
that solves this by encrypting the keyring-name : password pair with GnuPG and
save it as secret-file. Then on starting GNOME, a script will automatically run
that calls GnuPG to decrypt the secret file, and pipe use the password to unlock
your keyring.
To build and install it openSUSE, run the following commands:
```bash
$ sudo zypper in libgnome-keyring-devel git
$ git clone https://git.recolic.net/root/gnome-keyring-yubikey-unlock --recursive
$ cd gnome-keyring-yubikey-unlock/src
$ make
$ cd ..
```
Next we need to get your public key id:
```bash
$ gpg --list-keys
/home/dan/.gnupg/pubring.kbx
----------------------------
pub rsa4096 2020-12-22 [SC]
30EE9BFEC3FD0B37F9088DBE42239C515C9B9841
uid [ultimate] Dan Yeaw
sub rsa4096 2021-11-10 [A]
sub rsa4096 2021-11-10 [E]
sub rsa4096 2021-11-10 [S]
sub rsa4096 2020-12-22 [E]
```
The hexadecimal id that starts with 30EE9BF is my public gpg key id. Next we are going
to create the encrypted keyring password pair. Replace YOUR_PUBLIC_GPG_KEY with your
public gpg key id from the last step and replace YOUR_LOGIN_PASSWORD with the password
for your user account.
```bash
$ ./create_secret_file.sh ~/.gnupg/gnome_keyring_yubikey_secret YOUR_PUBLIC_GPG_KEY
>>> Please type keyring_name and password in the following format:
keyring1:password1
keyring2:password2
login:12345678
>>> When you are done, use Ctrl-D to end.
login:YOUR_LOGIN_PASSWORD
```
Next we want to change the permissions of the file, so that only your user can read
and write to the file:
```bash
$ chmod 600 ~/.gnupg/gnome_keyring_yubikey_secret
```
Finally, create an autostart entry so that the script loads when you login to GNOME:
```bash
$ nano ~/.config/autostart/net.recolic.gnome-keyring-yubikey-unlock.desktop
```
Add the following to the file, replacing YOUR_USER with your username:
```bash
[Desktop Entry]
Type=Application
Exec=/home/YOUR_USER/Projects/gnome-keyring-yubikey-unlock/unlock_keyrings.sh /home/YOUR_USER/.gnupg/gnome_keyring_yubikey_secret
Hidden=false
X-GNOME-Autostart-enabled=true
Name=GNOME Keyring Yubikey Unlock
Comment=Unlocks the GNOME Login Keyring without password
```
Hit Control+x and then enter to save the file. Restart your computer, and you
should now be able to login and run openSUSE without manually entering your
password.